
What you need to know about your first microblading session
Microblading enables you to have a fuller brow look that requires a lot less maintenance that you would imagine. Microblading is a cosmetic tattoo that uses semi-permanent inks to create the look of traditional makeup. Pigment is inserted into tiny cuts in the top layer of your skin (epidermis) created with micro-sized needles made along the eye brows. The result is a look that simulates natural eyebrow hair. The hair-like strokes don’t need to be drawn on or touched up regularly.
Microblading is a simple and lasting solution to covering sparse spots or for creating more “fullness” on slender brows. Unlikely a traditional tattoo though, there is no lifelong commitment. Microblading applications can last several years with the right maintenance.
It is important to know the facts ahead of your first appointment. It is advisable that you understand the procedure itself, whether you are an ideal candidate for it (eligibility) and what the best preparation and aftercare practices are.
Microblading vs Permanent Eyebrow Tattooing
Traditional tattoos are a life-long commitment. Even though Microblading is part of Permanent Makeup family of services, a “semi” permanent ink is actually used in the procedure. Microblading can last several years when maintained correctly but it will eventually all disappear. The ink used in microblading is less concentrated than traditional permanent tattoo ink and this allows for brush strokes to appear more hair-like and natural than permanent tattooed brows.
How long does a Microblading application Last?
Depending on your lifestyle, your age, your skin type and your maintenance routine, a microblading treatment can last 1-3 years. If you are prone to oily skin, you should expect your touch-up to be closer to a year compared to those with drier skin complexions (around 18 months or more). It is important to note that the sun and using exfoliation products will accelerate the fading of your microbladed brows. This is something to bear in mind if you want to increase the time between touch-up sessions.
Preparing For A Microblading Session
3-4 Weeks before: Avoid laser, botox and waxing treatments for 3-4 weeks before a microblading session.
2-Weeks before: Avoid any professional facial treatment. It is best to reschedule any facials 2-weeks after your microblading appointment. Additionally, refrain from using skincare products containing Retinol and Vitamin A for 2-weeks prior to your appointment.
1-Week before: Do not tweeze, clip or wax your eyebrows within the week before your microblading session.
Your skin will become more vulnerable to tearing and bleeding during the microblading process should you use these skincare products and hair removal techniques.
48-72 hours before: It is important to not dehydrate your skin before your microblading appointment. It will leave it more vulnerable to bleeding during the session or skin irritation afterwards due to the blood-thinning effects of certain medications and supplements. It will also impact how well you recover. For these reasons:
Do not expose your skin to direct sunlight or UV tanning.
Do not consume alcohol, caffeine or fish oil supplements.
Do not consume pain killers such as aspirin or ibuprofen.
24 hours before: Do not exercise or take part in any activity that is likely to generate a lot of sweat (e.g. intense exercise, hot yoga, swimming, saunas). This will leave your skin skin susceptible to germs that could host a bacterial or fungal infection.
1 hour before: To come prepared to your appointment, it is recommended to look at some photographs of microbladed brows. Many stylists and salons have portfolio photos on their websites and the internet has numerous places where you can find styles you like. Your stylist will have a Brow Consultation with you at the start of the microblading sessions so it is wise to come prepared with some style ideas and thoughts.
What to expect during your first session
It is often not mandatory, but you may want to schedule a “Patch Test” of the semi-permanent ink ahead of your main session. This will evaluate whether you have an allergic reaction to the ink.
In terms of the first session itself, you should plan for a least 3-hours to complete your microblading session. The session will be split generally as follows:
First 5-10 mins: Consent Form.
All professional salons and experienced stylists will walk you through their Consent Form. Generally there will be an explanation of what is about to happen and you will be asked questions about your lifestyle, habits and medical status to help the salon/stylist determine your eligibility for the service. Some salons may ask you to complete this in advance of the booked appointment, giving you more time with your stylist.
Next 20-30 mins: Brow Consultation.
Your stylist will discuss your brow challenges and preferred shape.
They will ask about your lifestyle and any supplements or medications you may be taking and may expand on any points raised in the consent form.
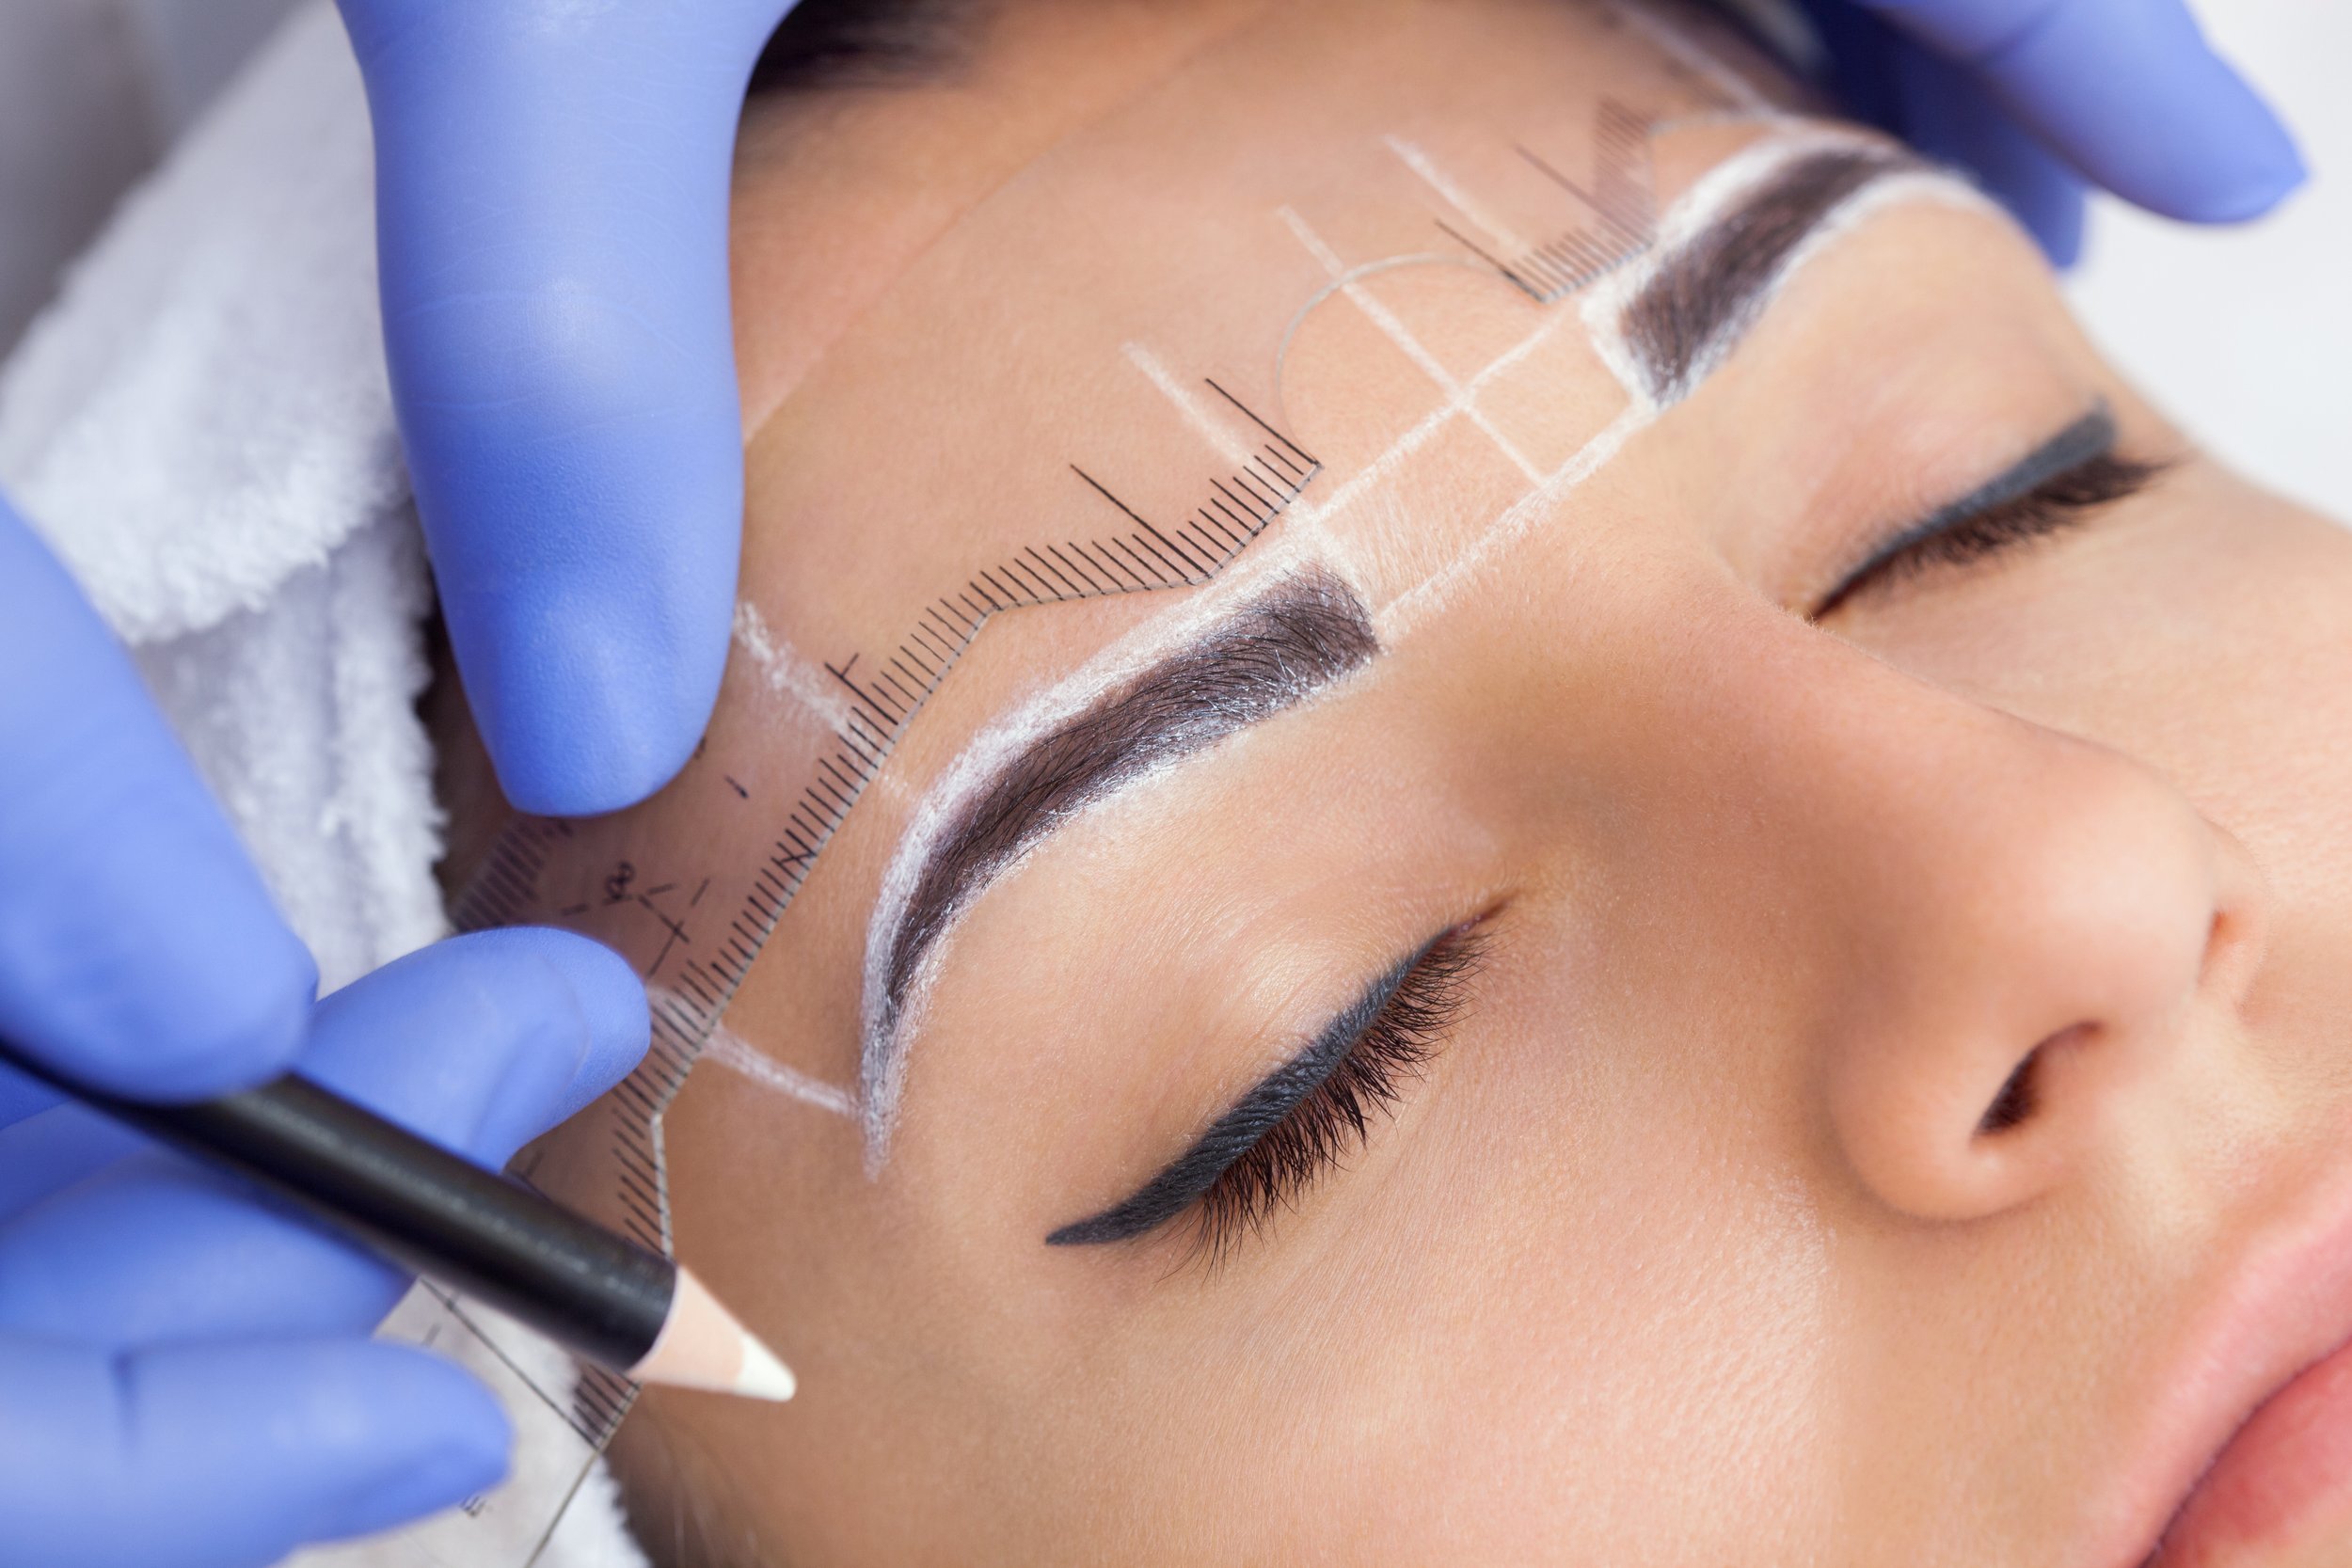
A mock-up of the microbladed brows will be drawn on you by your stylist with a pencil (generally white). You will be asked to accept the design or to make changes to it before a final agreement is made.
You will be shown a variety of colors of ink during the consultation for you to choose from. It is advisable to listen to your stylist at this point. Colors being mixed can look slightly different when they are applied and have healed. Your stylist will be able to advise you on which inks will have the best results based on your requirements.
Next 30 mins: Numbing the area.
A numbing cream such as Zensa Numbing Cream will be applied to your brows and left to set for around 30 mins.
Zensa has a maximum strength 5% lidocaine and lasts 2-3 hours. It has a natural pH formulation and is safe to use, even on sensitive areas like the bikini area and lips. It does not contain vasoconstrictors that will affect the settling of ink but it does contain Vitamin E which acts as an anti-inflammatory to boost the healing process. As a plus, it is also vegan, steroid, and cruelty-free, and it is safe to reapply on broken skin to extend numbing sensation.
Next 60-90 mins: Microblading
With the Zensa Numbing Cream applied, you should not feel too much pain. You may feel a slight scratching sensation as the needles inject the ink into the brow area.
There may be a scratching sound during the session but this is completely normal.
Completion:
Your brows will appear darker than you expect on completion of the microblading service.
The pigment will be at its most vibrant and will darken during the first few days. In fact, the ink will appear 30-40% darker than your final results in the first 7-10 days.
As the numbing cream wears off, you may experience soreness and irritation but this is to be expected.
Aftercare is critical
To allow you skin to heal correctly and showcase your new brows, it is crucial to follow the best aftercare procedures. Our article “The facts about the microblading healing process” helps to inform you on what to expect after your appointment and how you need to care for your brows for the first 6-8 weeks before your first touch-up.
Your first touchup
The most experienced stylists and salons will always consider microblading to be a two stage application. Your touch-up at 8-weeks is designed to be a check-up of your healing process and a touch-up of any patchiness and misshapen areas with additional pigment.
Sometimes your stylist may switch to a Microshading technique to adjust the shape and style. Microshading uses a less invasive and more subtle method of adding ink compared to microblading.
The healing process after a touchup is likely to last about 4-weeks and you generally need to follow the most stringent aftercare restrictions for 1-2 weeks. As with the first session, you will need to avoid activities that will lead to excessive sweating, avoid hot and long baths and showers, and makeup and sun exposure.
We encourage you to review our article “The facts about the microblading healing process” again to ensure you understand in depth the healing process and aftercare protocols.
Learn More
Everything you need to know about permanent-makeup
Learn how to prepare for your first visit
Frequently Asked Questions about our Permanent Makeup Services